WordPress is one of the most popular content management systems (CMS) in the world. It is an open-source platform that allows users to create websites, blogs, and online stores. In this post, we will tell you how to install WordPress to setup your website.
Let’s learn How to Install WordPress – A Simple 4 Steps Guide
Step 1: Choose a Web Host
The first step to installing WordPress is to choose a web host. A web host is a company that provides the servers where your website will be stored. There are many web hosting companies to choose from, and it can be overwhelming to decide which one is right for you.
Here are some important factors to consider:
- Price: Different web hosts offer different pricing plans. Make sure to choose a plan that fits your budget.
- Uptime: Uptime refers to the percentage of time that your website will be online. Choose a web host with high uptime to ensure that your website is always accessible.
- Customer support: Make sure the web host you choose offers customer support. This will be helpful if you run into any issues during the installation process.
- Security: Look for a web host that offers security features such as SSL certificates and malware scanning.
Step 2: Choose a Domain Name
A domain name is the address that people will use to access your website. It is important to choose a domain name that is easy to remember and relevant to your website. Here are some tips for choosing a domain name:
- Keep it simple: Choose a domain name that is easy to remember and spell.
- Make it relevant: Your domain name should reflect the content of your website.
- Avoid numbers and hyphens: Numbers and hyphens can make your domain name hard to remember.
- Consider using a .com, .net or .co extension: Most people associate .com with websites, so it is a good choice for your domain name.
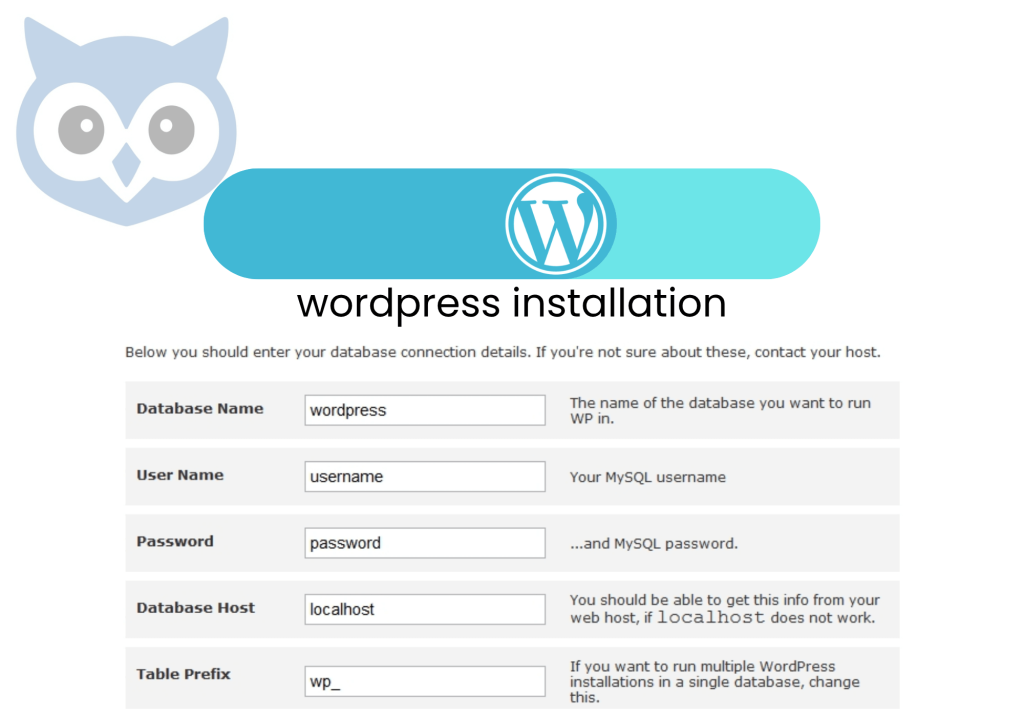
Step 3: Install WordPress
Once you have chosen a web host and domain name, it is time to install WordPress. Many web hosts offer one-click installation of WordPress, which makes the process very easy. Here are the steps to install WordPress:
- Log in to your web host account and navigate to the control panel.
- Look for the option to install WordPress and click on it.
- Follow the instructions to complete the installation process.
- Once WordPress is installed, you can log in to the admin panel and start customizing your website.
Step 4: Customize Your Website
After installing WordPress, you can customize your website by choosing a theme and installing plugins. A theme is a pre-designed template that determines the layout and design of your website. There are many free and paid themes available for WordPress.
Plugins are add-ons that extend the functionality of your website. There are thousands of plugins available for WordPress, and they can help you add features such as contact forms, social media buttons, and e-commerce functionality.
In Conclusion: Installing WordPress is a straightforward process that can be completed in just a few steps. By choosing a reliable web host, a relevant domain name, and a great theme, you can create a professional-looking website that meets your needs. Remember to keep your website secure by installing security plugins and keeping WordPress up to date.
The above simple post is to help you understand how to install WordPress step by step. We kept the post as simple as possible. For more detailed guide please contact us and will send you a comprehensive guide.
If you have any questions or doubts please leave a comment below and one of our WordPress expert will reply you.


